How to Create an Emotions Recognition App


Emotion recognition is the process of identifying human emotion. Extracting and understanding emotion have high importance in the interaction between human and machine communication. Nowadays, many companies use emotion recognition models in their intelligent systems to improve machine interaction with humans.
Facial Emotion Recognition is an excellent API available on RapidAPI Hub, using which you can create simple yet powerful emotion recognition systems. So today, we will be looking at how to create an Emotion Recognition App using an API.
How to connect to the Facial Emotion Recognition API
RapidAPI handles all the API development things very effectively. You don't need to worry about any complicated stuff related to API. RapidAPI does all the communications by itself. You need to register on RapidAPI Hub if you want to use any API. RapidAPI provides you a single API key using which you can access over 35,000 APIs conveniently.
Go to RapidAPI Hub and create a free account.
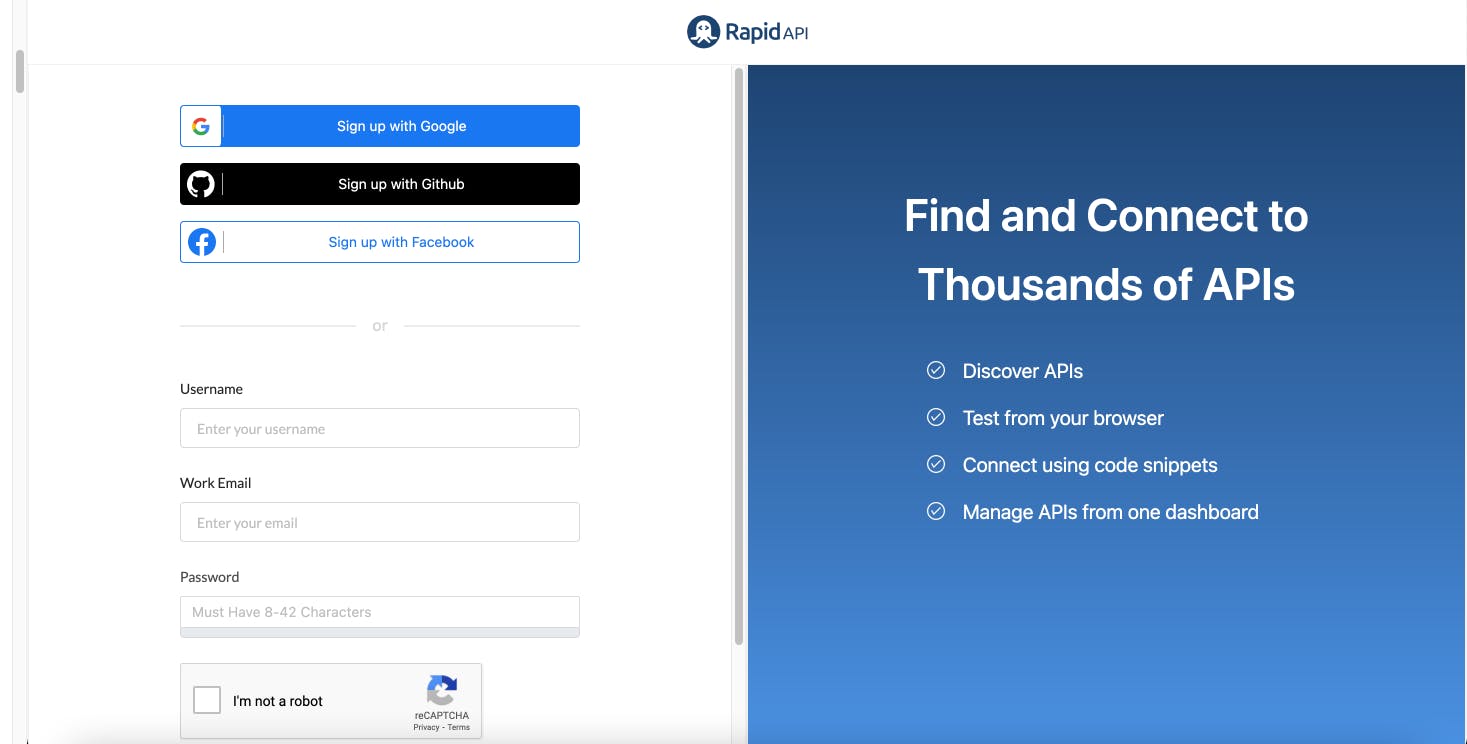
The majority of the APIs offer a freemium plan. You don't even need to add credit card details to access them. Let's choose the best-suited pricing plan for Facial Emotion Recognition.

The Basic plan of Facial Emotion Recognition is free but keep in mind that it only offers ten API calls per day. You can always change the plan according to your needs. Just click on the "Subscribe" button of the Basic plan.
Now we are good to create an Emotion Recognition App using this API.
Play around with Facial Emotion Recognition API
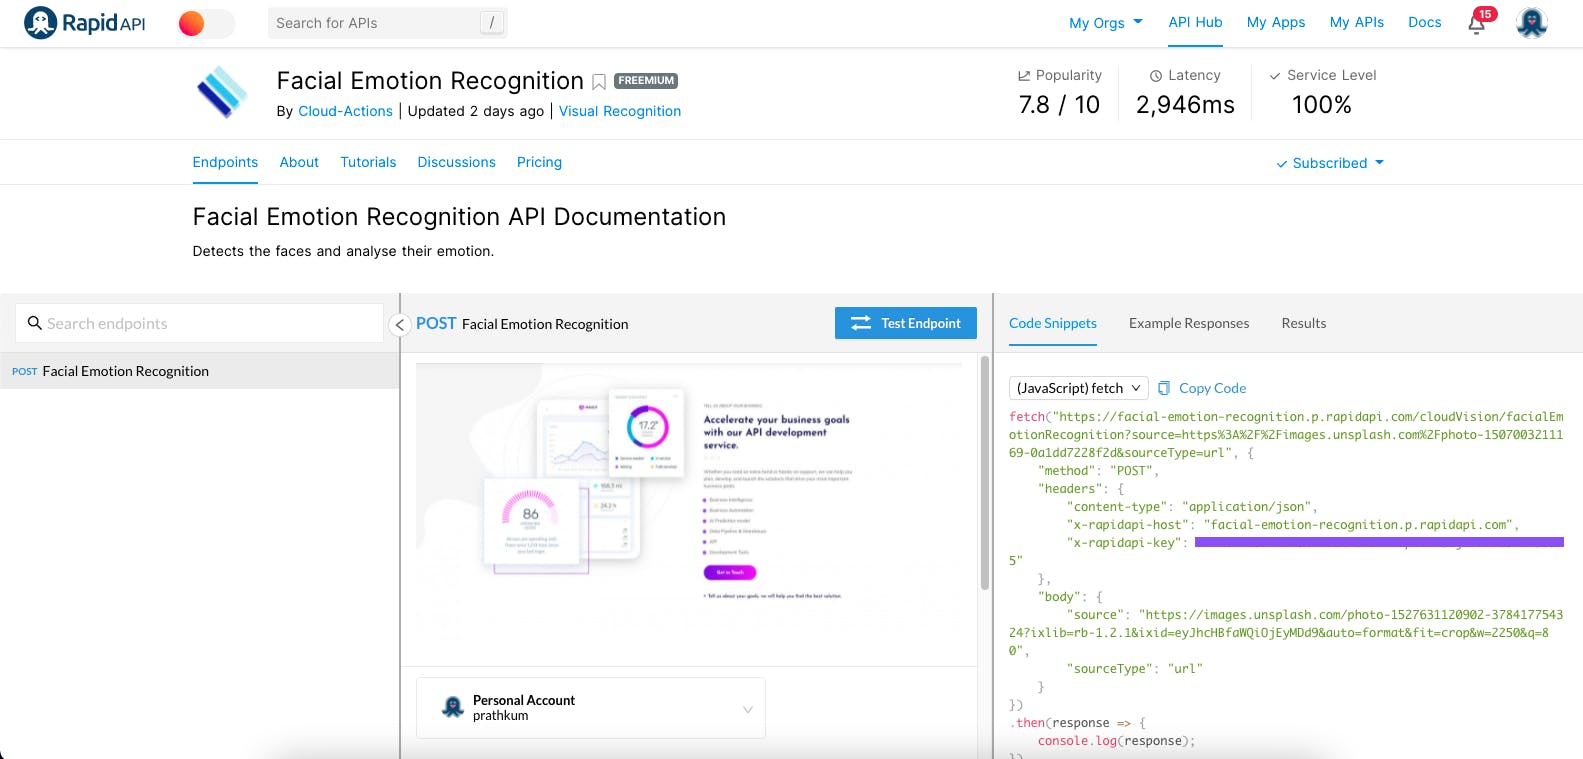
Once you subscribe, you can test the API and check the response this Facial Emotion Recognition API returns. You can test multiple endpoints with different parameters using the API playground. Let's try to dig in with our current API to integrate it with our application.
- Endpoint
Here, you can take a quick look at the endpoints an interface supports. You can also search for a distinct endpoint. - Documentation
Here, you can access and change all the necessary details required to test an endpoint. For example, you can pass values in the different parameters in the documentation section. - Code
Every developer wants and loves this section. You can copy-paste the code directly from here. RapidAPI supports 20 programming languages with 40 different libraries.
The Facial Emotion Recognition API has only one endpoint, and that's enough for us. It lets us make a POST request using the image address, which gives the emotions in return. We can either pass the URL or base64 as the image string. Let's test this API and see what we get in return.
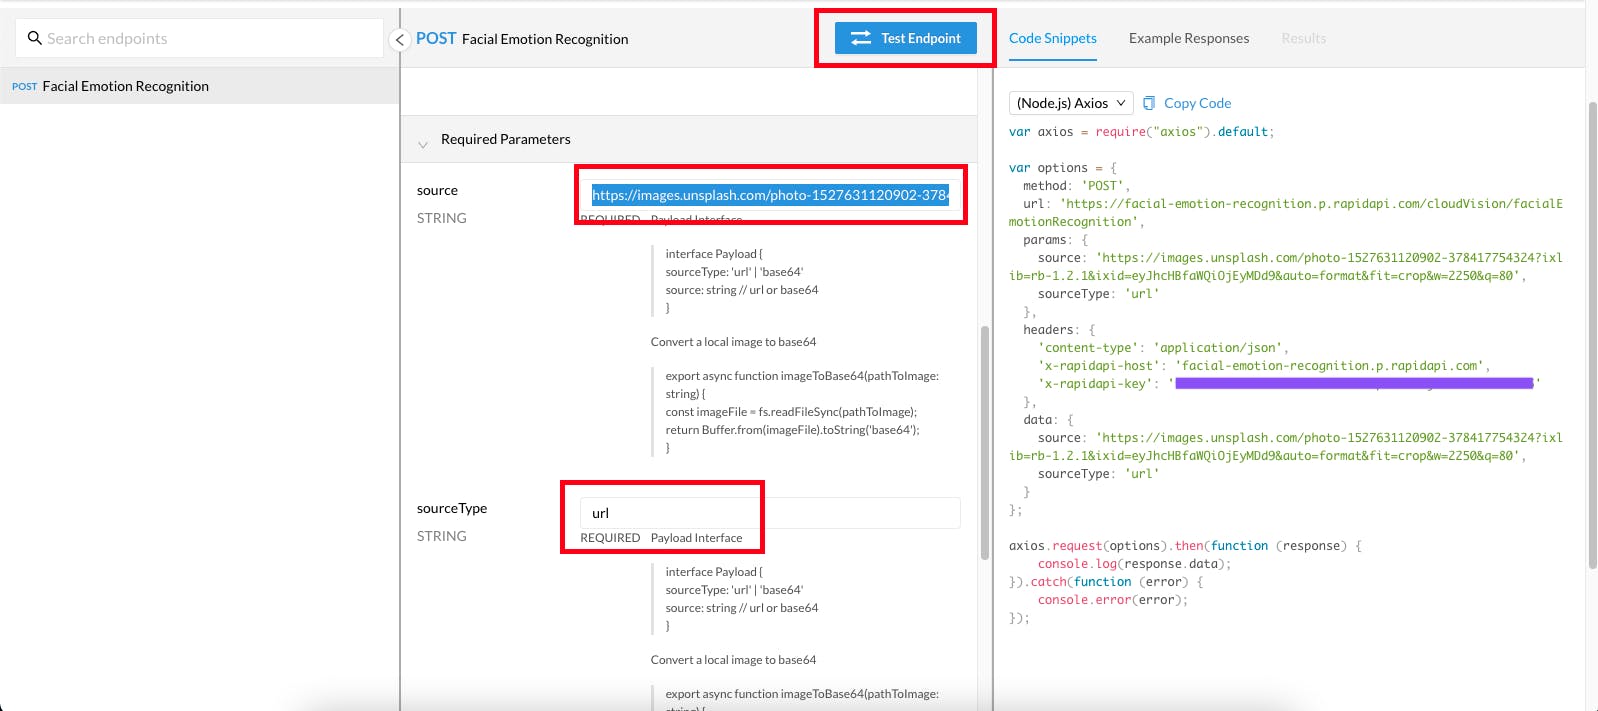
Add the image URL in the source and select the URL for the sourceType parameter.
Great, we are all set to hit that "Test Endpoint" button.
After hitting the "Test Endpoint" button, you will see the endpoint (API) result in the third section of API Playground.
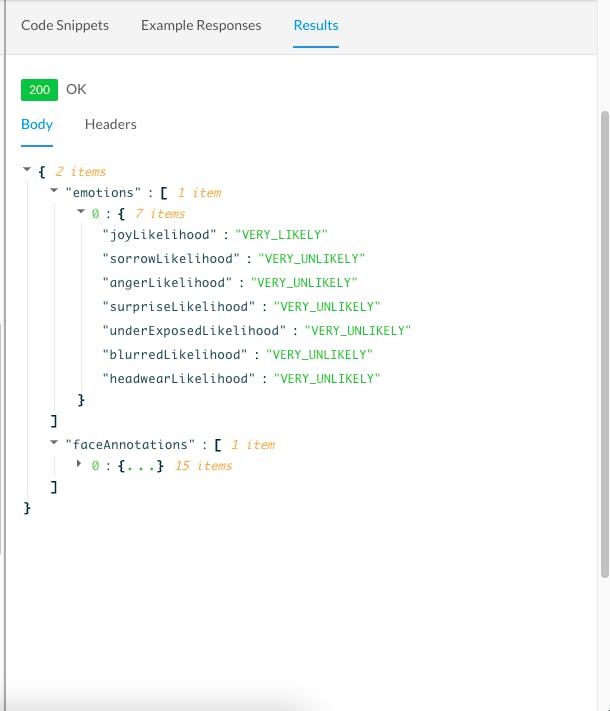
You'll get an object with two keys; the first key contains all the emotion values. Whereas the second key contains the Face Annotations.
We need the emotions key, which contains seven different values.
Integrate Facial Emotion Recognition API into Your React Application
React is a front-end JavaScript library for building user interfaces. We will cover everything in detail so If you're not familiar with React, follow the steps below.
1. Create a React Application
Create React App is the simplest way to set up a React application by running one command.
npx create-react-app emotion-recognition
You will need to have Node.js on your local machine. If you haven't, download it for free.
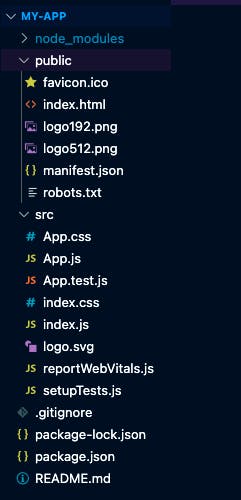
The create-react-app command will create a folder for you with all the required files for a React application. You will get a node_modules, public, and src folder. You will understand each and everything automatically as you go further in the world of React.
2. Create a Form
We want a form in our Emotion Recognition application where users can add the image URL to retrieve the emotions. We need an input field and a submit button in the form.
Go to your project folder (emotion-recognition that we just created in the first step) and you'll find that React created a bunch of other folders and files for us. We don't need to check them all right now.
Go to the emotion-recognition folder > src > App.js, and create a form with an URL input field and a submit button.
function App() {
  return (
    <div>
      <form action="">
        <input type="url" name="url" id="url" placeholder="https://..." />
        <input className="btn" type="submit" value="Send Request"/
      </form>
    </div>
  );
}
export default App;
Run the application to check the output by running the following command from the root of the project:
npm start

3. Copy-paste the code snippet from RapidAPI Hub
We are all set to integrate Facial Emotion Recognition API code into our application. You don't even need to write the code. RapidAPI provides the code snippet in 20 programming languages with 40 libraries' support.
Go to the Facial Emotion Recognition API homepage and copy the code snippet from the third section of the API playground.
Select the JavaScript language and fetch method from the dropdown menu and click on the "Copy Code" button.

Create a function fetchData() in the App.js file and paste the code inside that function. Make sure to pass the request body after stringifying it. Learn more about JSON.stringify.
body: JSON.stringify({
  source: "",
  sourceType: "url"
})
4. Let the user enter the image URL and get the emotions
We are almost done! We need to validate the form to enter the URL to get the result.
Let's complete the form first. Create two useState hooks in the App.js file, one for handling the state of URL that user enters and the second for loading while API fetching the response from the server.
Const [imageLink, setImageLink] = useState("");
const [isLoading, setIsLoading] = useState(true);
<form
  onSubmit={(event) => {
    event.preventDefault();
    fetchData();
    setImageLink("");
    setIsLoading(true);
  }}
  action=""
>
  <input
    onChange={(event) => setImageLink(event.target.value)}
    type="url"
    name="url"
    id="url"
    value={imageLink}
    className="search-input"
    placeholder="https://..."
  />
 <input className="btn" type="submit" value="Send Request" />
</form>
As simple as that, we are setting the image URL inside the imageLink variable and calling the fetchData function on form submit.
Let's create another useState hook for storing the response that the server returns.
const [emotions, setEmotions] = useState({});
Modify the fetchData function a little bit to store the emotions response object.
.then((response) => response.json())
.then((data) => {
  setEmotions(data.emotions[0]);
  setIsLoading(false);
})
Render the data(emotions) on the webpage when API successfully returns the data. You can do this by adding some paragraph tags inside the return method in the App.js file.
If you missed some parts, this is how the entire App.js file looks like.
import React, { useState } from "react";
import ReactDOM from "react-dom";
function App() {
  const [imageLink, setImageLink] = useState("");
  const [emotions, setEmotions] = useState({});
  const [isLoading, setIsLoading] = useState(true);
function fetchData() {
  fetch("https://facial-emotion-recognition.p.rapidapi.com/cloudVision/facialEmotionRecognition",
   {
     method: "POST",
     headers: {
       "content-type": "application/json",
       "x-rapidapi-host": "facial-emotion-recognition.p.rapidapi.com",
       "x-rapidapi-key": process.env.REACT_APP_API_KEY,
     },
     body: JSON.stringify({
       source: imageLink,
       sourceType: "url",
     }),
  }
)
  .then((response) => response.json())
  .then((data) => {
    console.log(data);
    setEmotions(data.emotions[0]);
    console.log(emotions);
    setIsLoading(false);
  })
  .catch((err) => {
    console.error(err);
  });
}
return (
  <div>
    <h1>Emotion Recognition</h1>
    <form onSubmit={(event) => {
            event.preventDefault();
            fetchData();
            setImageLink("");
            setIsLoading(true);
          }}
          action=""
     >
       <input onChange={(event) => setImageLink(event.target.value)}
              type="url"
              name="url"
              id="url"
              value={imageLink}
              className="search-input"
              placeholder="https://..."
        />
        <input className="btn" type="submit" value="Send Request" />
      </form>
      {isLoading ? (
        ""
        ) : (
        <div className="data">
          <p>Joy: <span>{emotions.joyLikelihood}</span></p>
          <p>Anger: <span>{emotions.angerLikelihood}</span></p>
          <p>Suprise: <span>{emotions.surpriseLikelihood}</span</p>
          <p>Sorrow: <span>{emotions.sorrowLikelihood}</span></p>
        </div>
     )}
    </div>
  );
}
export default App;
One important thing to note here is that we have passed the API key as
"x-rapidapi-key": process.env.REACT_APP_API_KEY,
x-rapidapi-key is your API key that RapidAPI provides using which you can access over 35,000 excellent APIs. It's always recommended to pass the API key as an environment variable because it's confidential. Anyone can use your API subscription if they have your API key.
Create a .env inside the emotion-recognition folder and add your API key inside REACT_APP_API_KEY(you can call it whatever you want but it should start with the prefix REACTAPP ) variable. Now you can access it inside the App.js file as process.env.REACT_APP_API_KEY.
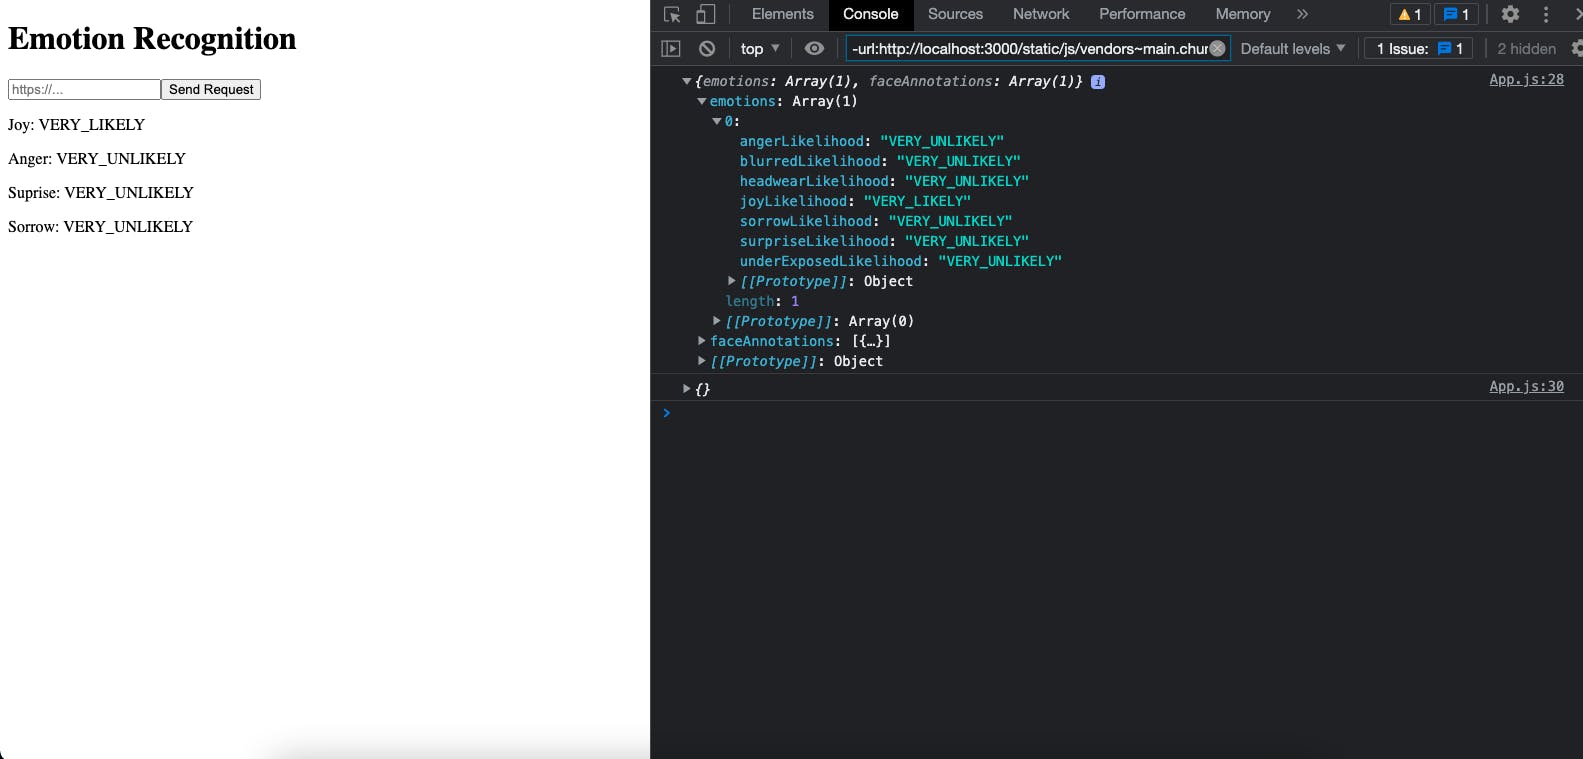
5. Output
Yay! Run the npm start command, and you'll see the result at localhost:3000.
You can check the working project here.
Go to RapidAPI Hub and create a free account to get your API key. The fun part is that you can use over 35,000 excellent APIs with just one API key. So it's worth creating a free account on RapidAPI Hub.
Feel free to drop your suggestions, feedback, and doubts down below. We love reading them out.
With that said, we hope you enjoy this article. Peace out!! Keep coding! We will catch you with the next excellent project idea.